A beautiful ADU can still become a frustrating project if the water pressure is weak, the electrical panel is undersized, or the sewer route was never properly planned. ADU utility connections are not a finishing detail. They influence your budget, construction timeline, daily comfort, and the long-term performance of the new living space.
For Los Angeles-area homeowners, utility planning deserves attention at the earliest design stage. A detached backyard unit, garage conversion, or home addition may look straightforward from the outside, but every project has different conditions behind the walls and beneath the ground. The right approach is not to guess. It is to evaluate the existing home, the lot, and the intended use of the ADU before construction begins.
Why ADU utility connections affect the entire project
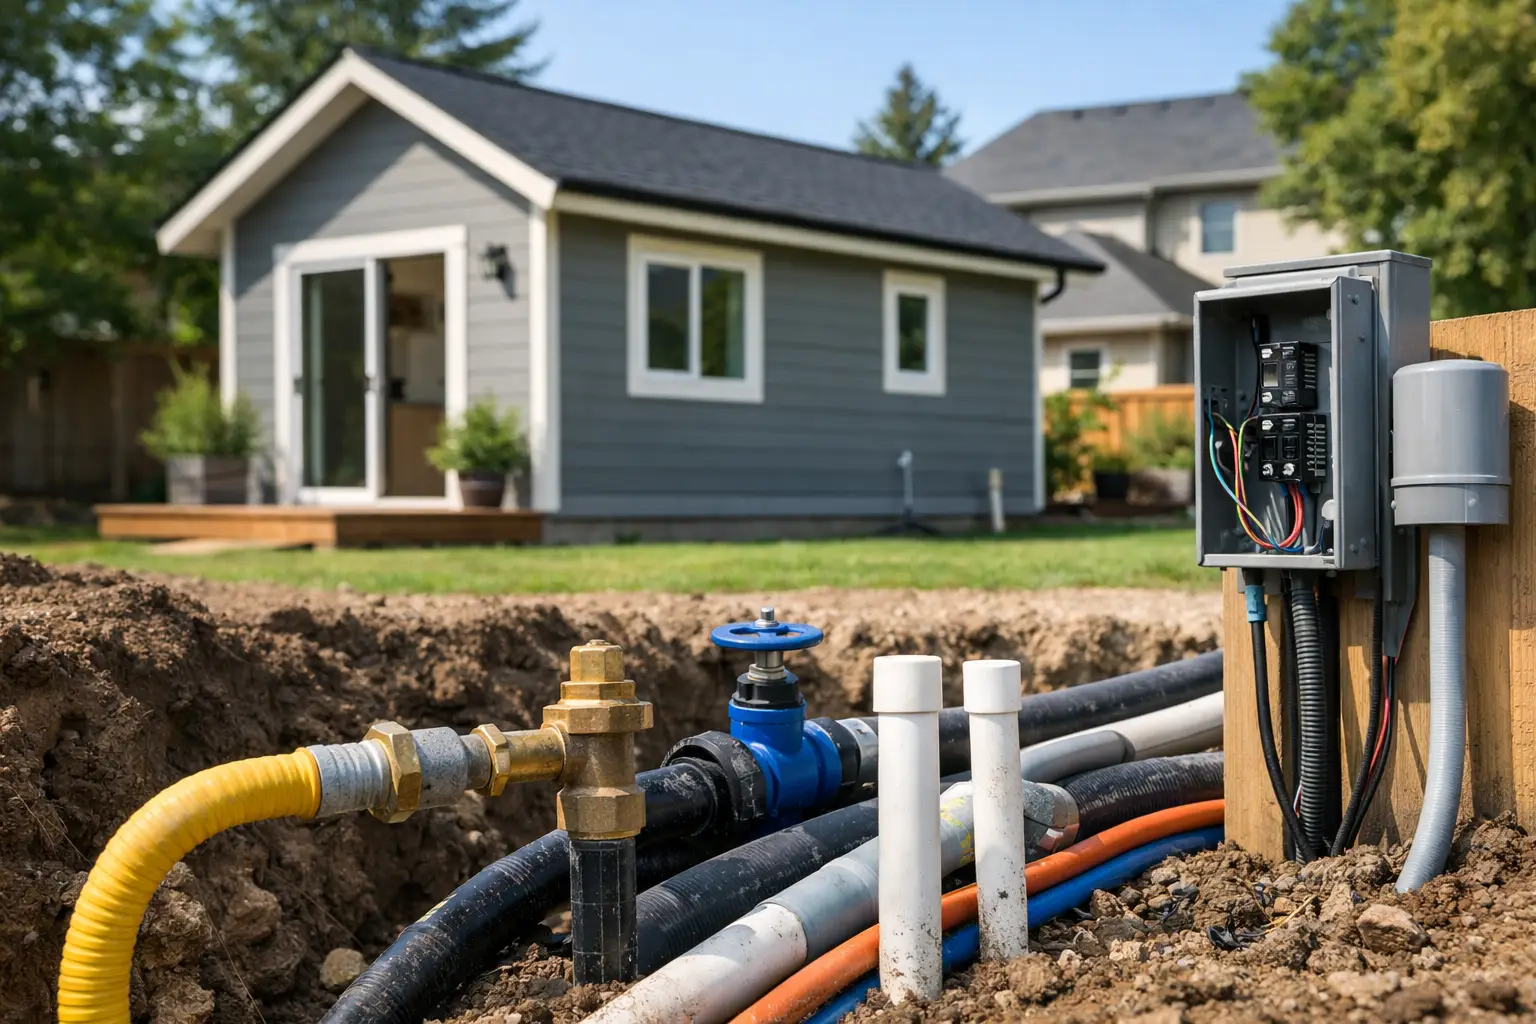
An ADU needs the same core services that make any home comfortable and functional: water, wastewater drainage, electricity, heating and cooling, and often gas. The question is whether those services can be extended from the main home efficiently or whether the property needs upgrades to support the added demand.
That answer affects more than a utility bill. It can change where the ADU sits on the lot, whether a trench must cross hardscaping, how the unit is framed, and how quickly permits can move forward. For example, placing a bathroom and kitchen close to the main sewer connection can reduce the length and complexity of underground plumbing. Moving those rooms to the opposite side of the structure may better suit a floor plan, but it can add labor, excavation, and restoration work.
Good planning protects the homeowner from a common surprise: approving an attractive design only to learn later that a panel upgrade, sewer repair, or extensive trenching is required. These are manageable issues when identified early. They become expensive when discovered after plans are complete or construction has started.
Start with a property utility assessment
Before finalizing the ADU layout, a qualified contractor should review the existing utility infrastructure. This is where a design-build team earns its value. Rather than treating the ADU as a separate box in the backyard, the team looks at how it will work with the entire property.
The assessment should consider the age and capacity of the electrical service panel, the condition and location of water lines, the route and slope of sewer piping, existing gas service, drainage conditions, and access for excavation. Older homes in established neighborhoods may have aging pipes or electrical systems that were never designed for another kitchen, bath, laundry area, and HVAC system.
A utility review also helps establish realistic priorities. If the main home already needs electrical modernization, it may be smarter to address that upgrade as part of the ADU project rather than patching together a short-term solution. The same logic applies to sewer lines that show signs of root intrusion, damage, or poor slope.
Water and sewer: The connections that shape the floor plan
Water supply and sewer drainage are often the most site-sensitive parts of an ADU build. Every fixture needs reliable water pressure, and every drain must have a properly designed path back to the sewer system. Bathrooms, kitchens, and laundry areas should be positioned with this reality in mind.
A detached ADU generally requires new underground water and sewer runs from the main house connection or another approved connection point. The farther the structure is from existing lines, the more trenching and pipe installation may be needed. Landscaping, concrete driveways, patios, retaining walls, and mature trees can all affect the final scope.
Sewer is particularly dependent on slope. Wastewater lines typically need gravity to carry waste away effectively. If the ADU sits lower than the available sewer connection or the route cannot achieve the required slope, a pump system may be considered. That can solve a difficult site condition, but it adds equipment, maintenance considerations, and another mechanical component to the home.
There is no single best layout for every property. A detached ADU tucked into a deep backyard may require a longer utility path, while a garage conversion can often take advantage of nearby existing plumbing. The best choice balances privacy, usable square footage, construction cost, and future maintenance access.
Electrical service and panel capacity
Electrical planning should account for how people will actually live in the ADU, not just the minimum number of outlets required. A modern unit may include an induction range, mini-split HVAC, electric water heater, washer and dryer, refrigerator, dishwasher, lighting, internet equipment, and electric vehicle charging needs elsewhere on the property.
The existing main panel may have room for an ADU subpanel, or it may require an upgrade. This depends on the current service size, the home’s existing electrical loads, and the appliances selected for both structures. An all-electric ADU can be an excellent option for efficiency and simplified gas planning, but it may increase electrical demand substantially.
During the design stage, it is wise to decide whether you want gas appliances or an all-electric setup. Changing direction midway through construction can affect wiring, appliance selection, venting, permits, and costs. A thoughtful load calculation helps ensure the system is designed for the home you are building, not merely for the home you have today.
Gas, HVAC, and hot water decisions
Some ADUs connect to an existing gas meter for a gas range, furnace, tankless water heater, or dryer. Others are designed as fully electric units with heat-pump water heaters, heat-pump HVAC, and electric cooking. Each option has benefits.
Gas may be familiar to homeowners who prefer gas cooking or already have adequate service in place. All-electric systems can reduce the number of utility lines needed and work well with efficient heat-pump technology. The better choice depends on the property’s capacity, your operating preferences, local requirements, and the equipment selected.
Heating and cooling should be planned with the utility design, not added at the end. A ductless mini-split system is a popular ADU solution because it is efficient and avoids the need to extend the main home’s ductwork. Still, it needs properly sized electrical service and a well-considered location for outdoor equipment. Noise, clearance, drainage, and appearance all matter when the unit is close to neighbors or outdoor living areas.
Permit requirements and utility coordination
ADU utility connections require more than skilled installation. They must be designed and completed in accordance with applicable building, plumbing, electrical, and utility requirements. Permitting can involve plan review, inspections, utility coordination, and site-specific documentation.
This process is one reason homeowners should avoid treating utility work as an afterthought. If plans do not clearly show connection routes, equipment locations, or electrical capacity, revisions may be needed before work can proceed. Clear documentation gives the project a stronger foundation and reduces unnecessary delays.
A licensed contractor can coordinate the practical details: locating existing lines, planning trench routes, scheduling inspections, and keeping utility work aligned with framing, foundation, drywall, and finish schedules. At WeFiks, the goal is to make those moving parts feel organized, with decisions explained clearly before they affect your budget or timeline.
What drives the cost of ADU utility work?
Utility costs vary widely because the work is tied to the property itself. Two ADUs with the same floor plan can have very different connection costs based on distance, access, existing system condition, and site obstacles.
The biggest cost factors often include:
- The distance between the ADU and existing water, sewer, gas, and electrical connections
- Whether the main electrical panel or service needs to be upgraded
- The condition of existing sewer and water lines
- Excavation through concrete, landscaping, slopes, or tight side yards
- The need for pumps, additional meters, upgraded equipment, or restoration work
Homeowners should also consider the cost of restoring the site after utility installation. A trench may cross a driveway, walkway, lawn, patio, or garden. Planning the utility route around future hardscaping and landscaping can prevent paying to remove and replace the same finishes twice.
Plan for service access, not just installation
The best utility installation is one that can be maintained without tearing apart your property later. Shutoff valves, cleanouts, electrical panels, HVAC equipment, and meters should remain accessible. Hiding every component may look appealing on day one, but poor access can make repairs slower and more costly years later.
This is especially relevant for ADUs intended as rental units, guest suites, multigenerational living spaces, or home offices. A well-planned system gives the homeowner appropriate control without unnecessarily disrupting the people using the unit. Separate shutoffs and clear labeling can make a meaningful difference when maintenance is needed.
Build the ADU you want to live with, not just the one that looks good on a plan. When utility decisions are made early and built around the realities of your property, the finished space is more comfortable, more reliable, and ready to serve your family or investment goals for years to come.